
Container element
The container element can be aligned to can be used to achieve a lot of things.
- Arranging elements horizontally
- Adding extra background or shadow
- Full bleed background color or image
Arranging elements horizontally
Adding columns and setting width ratio
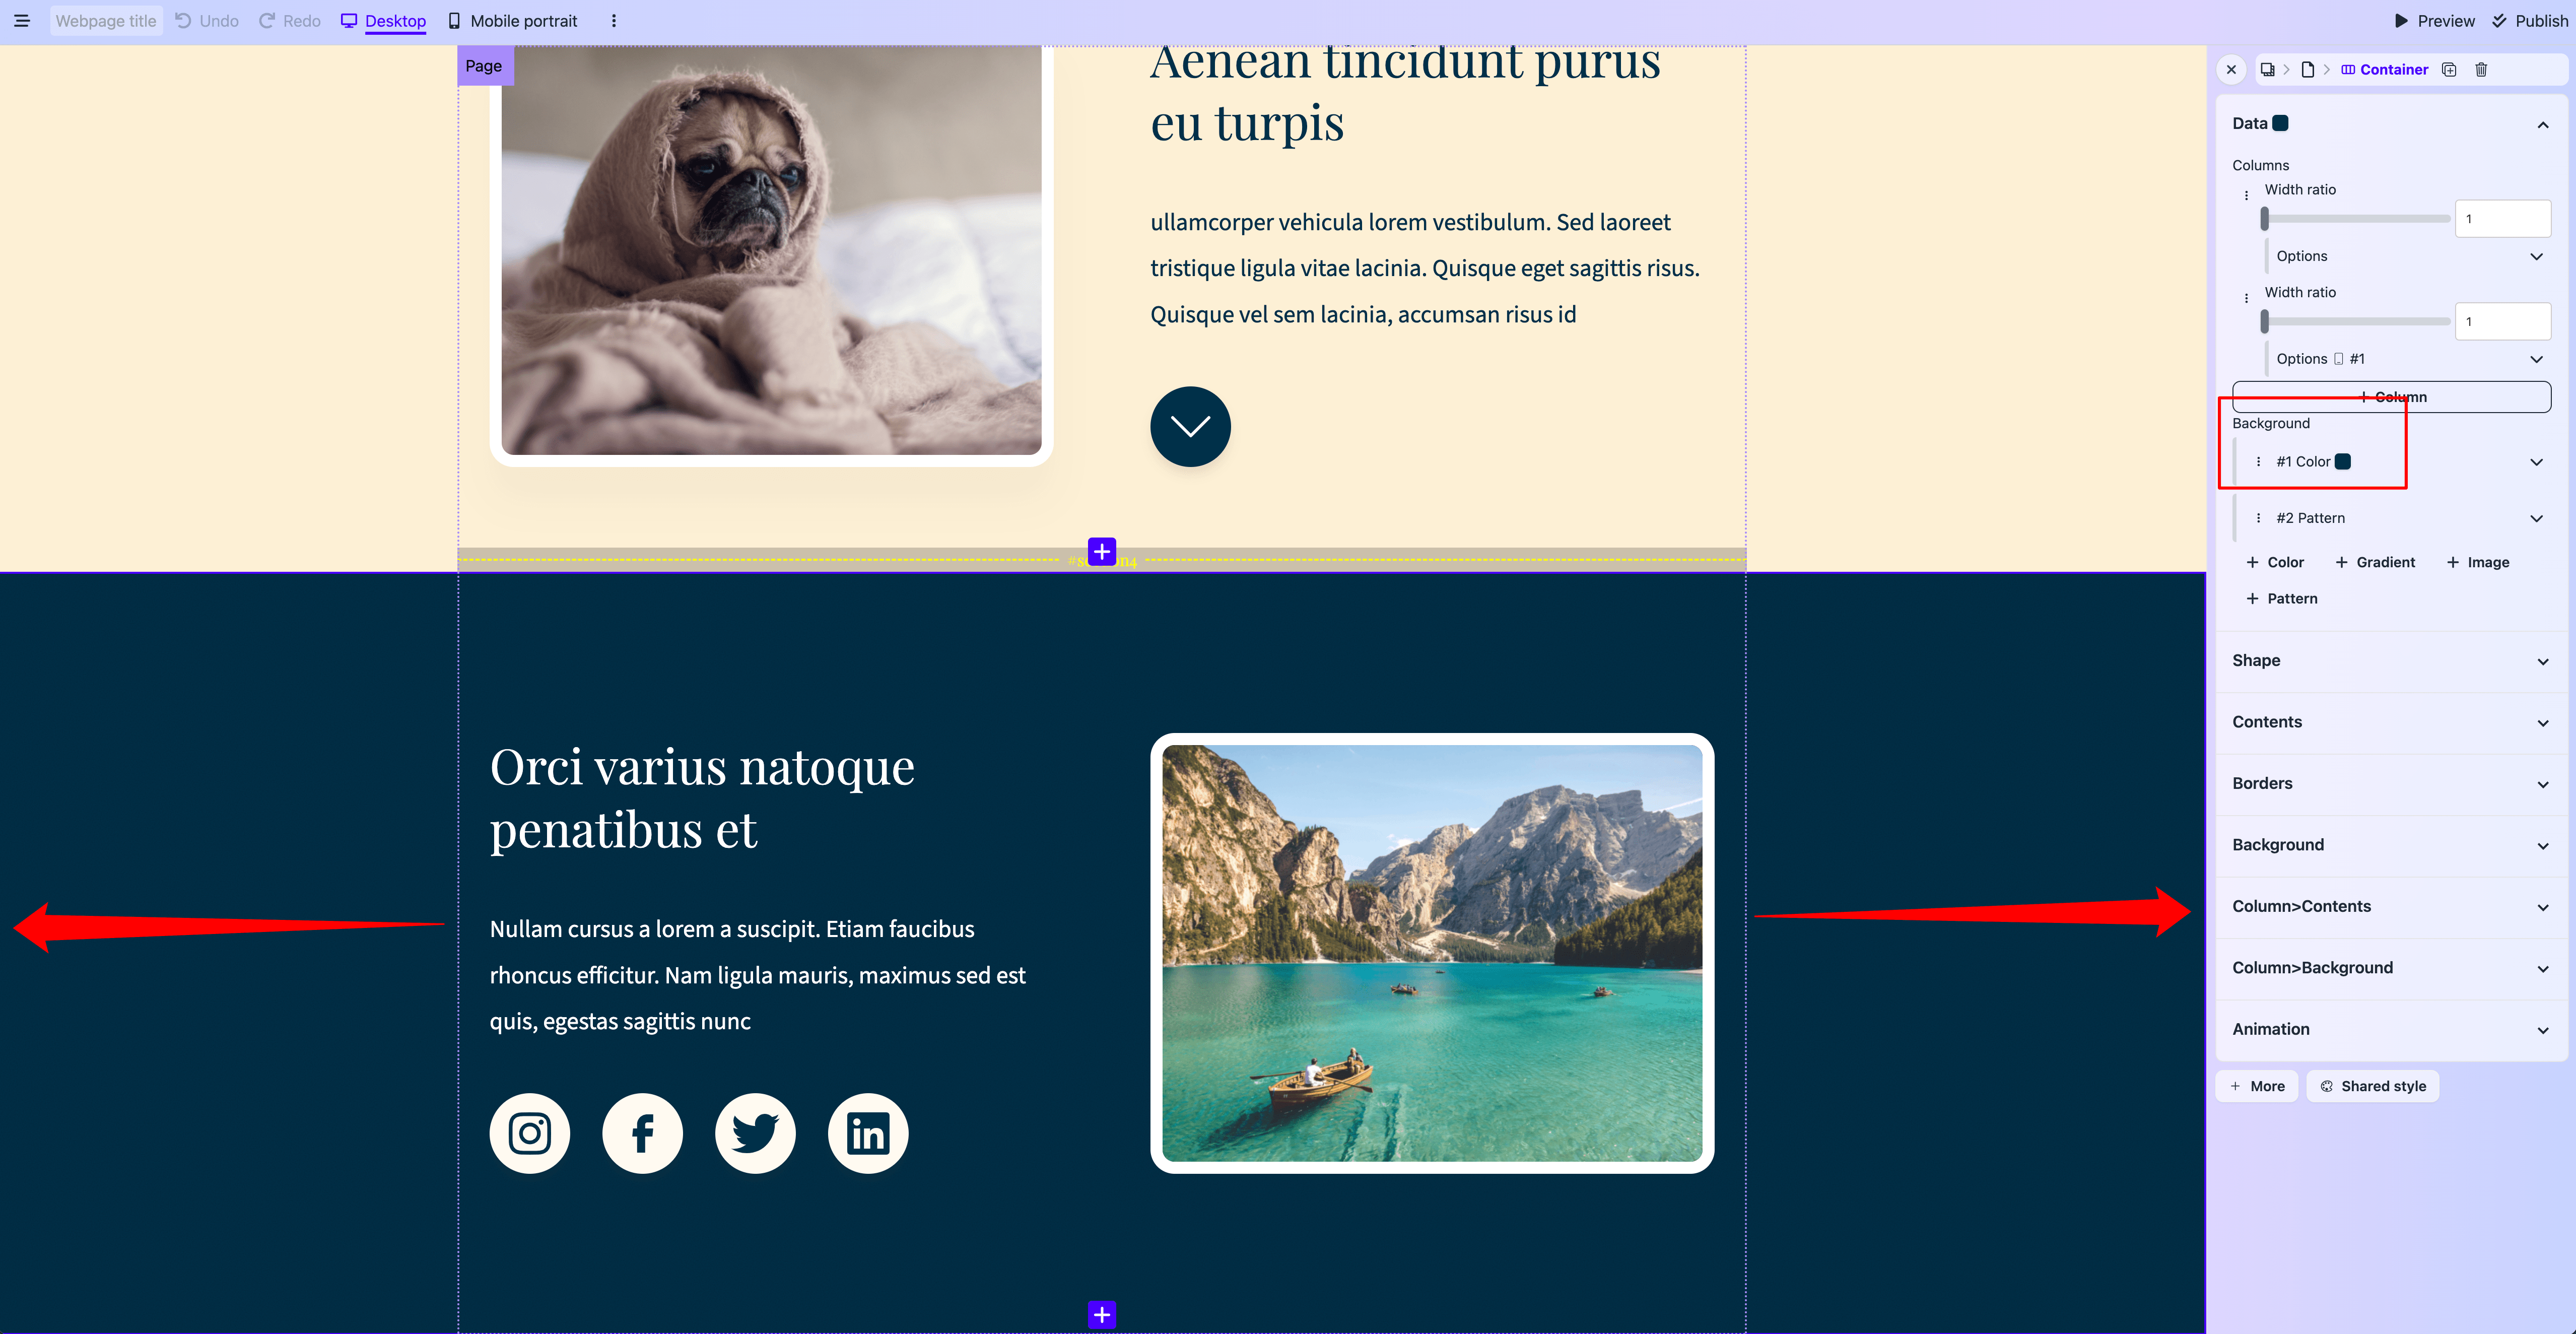
After adding a container to the canvas, you can see there's only 1 column in the Data tab.
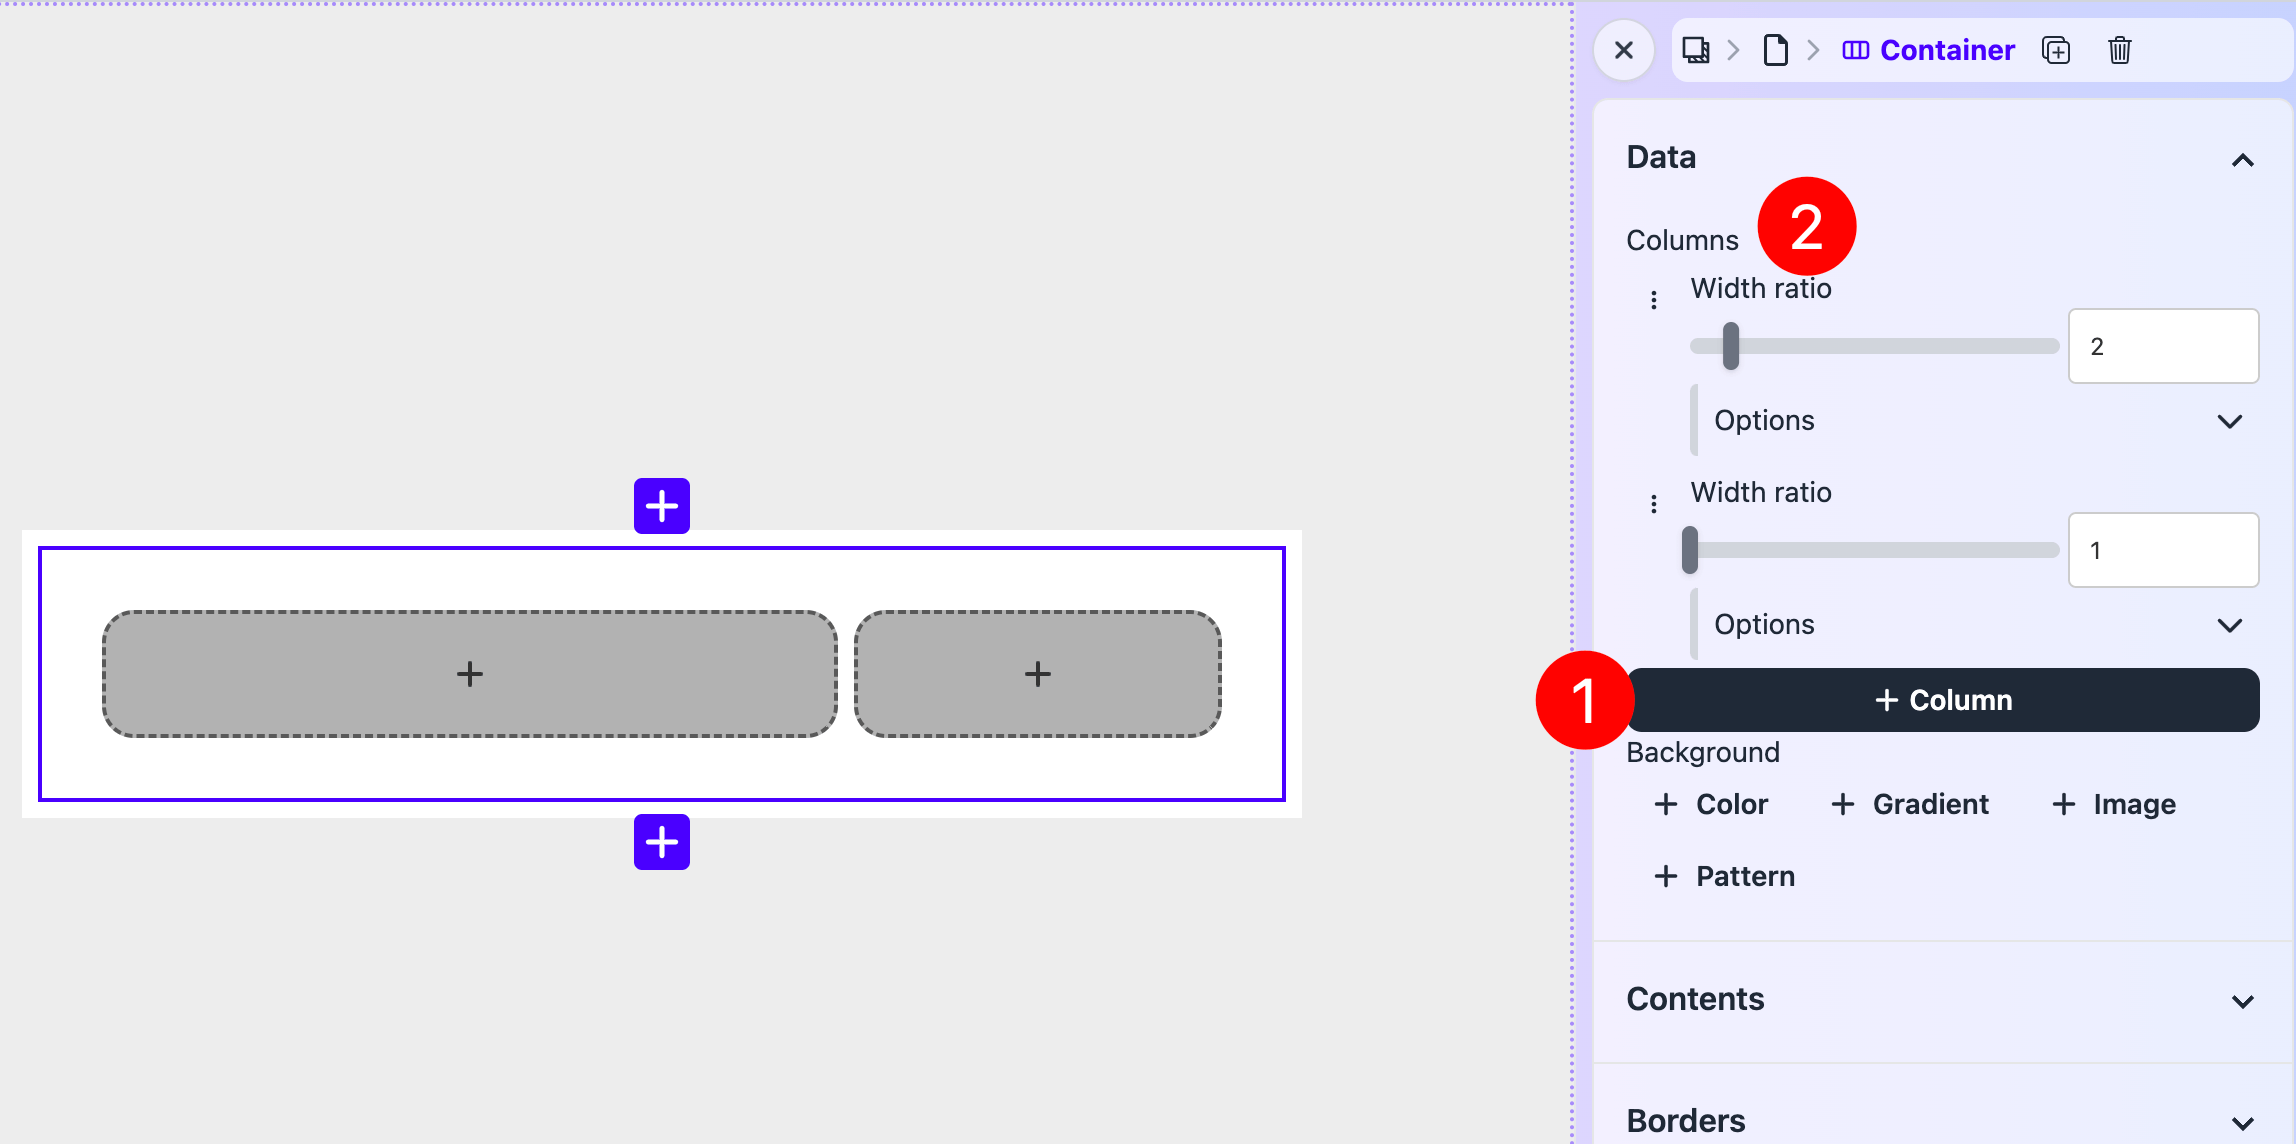
Click Column to add more columns. And adjust their Width ratio to make your desired layout. In the screenshot I've set up a 2:1 ratio, where the left column is 2 times wide compared to the right column.
Always horizontal
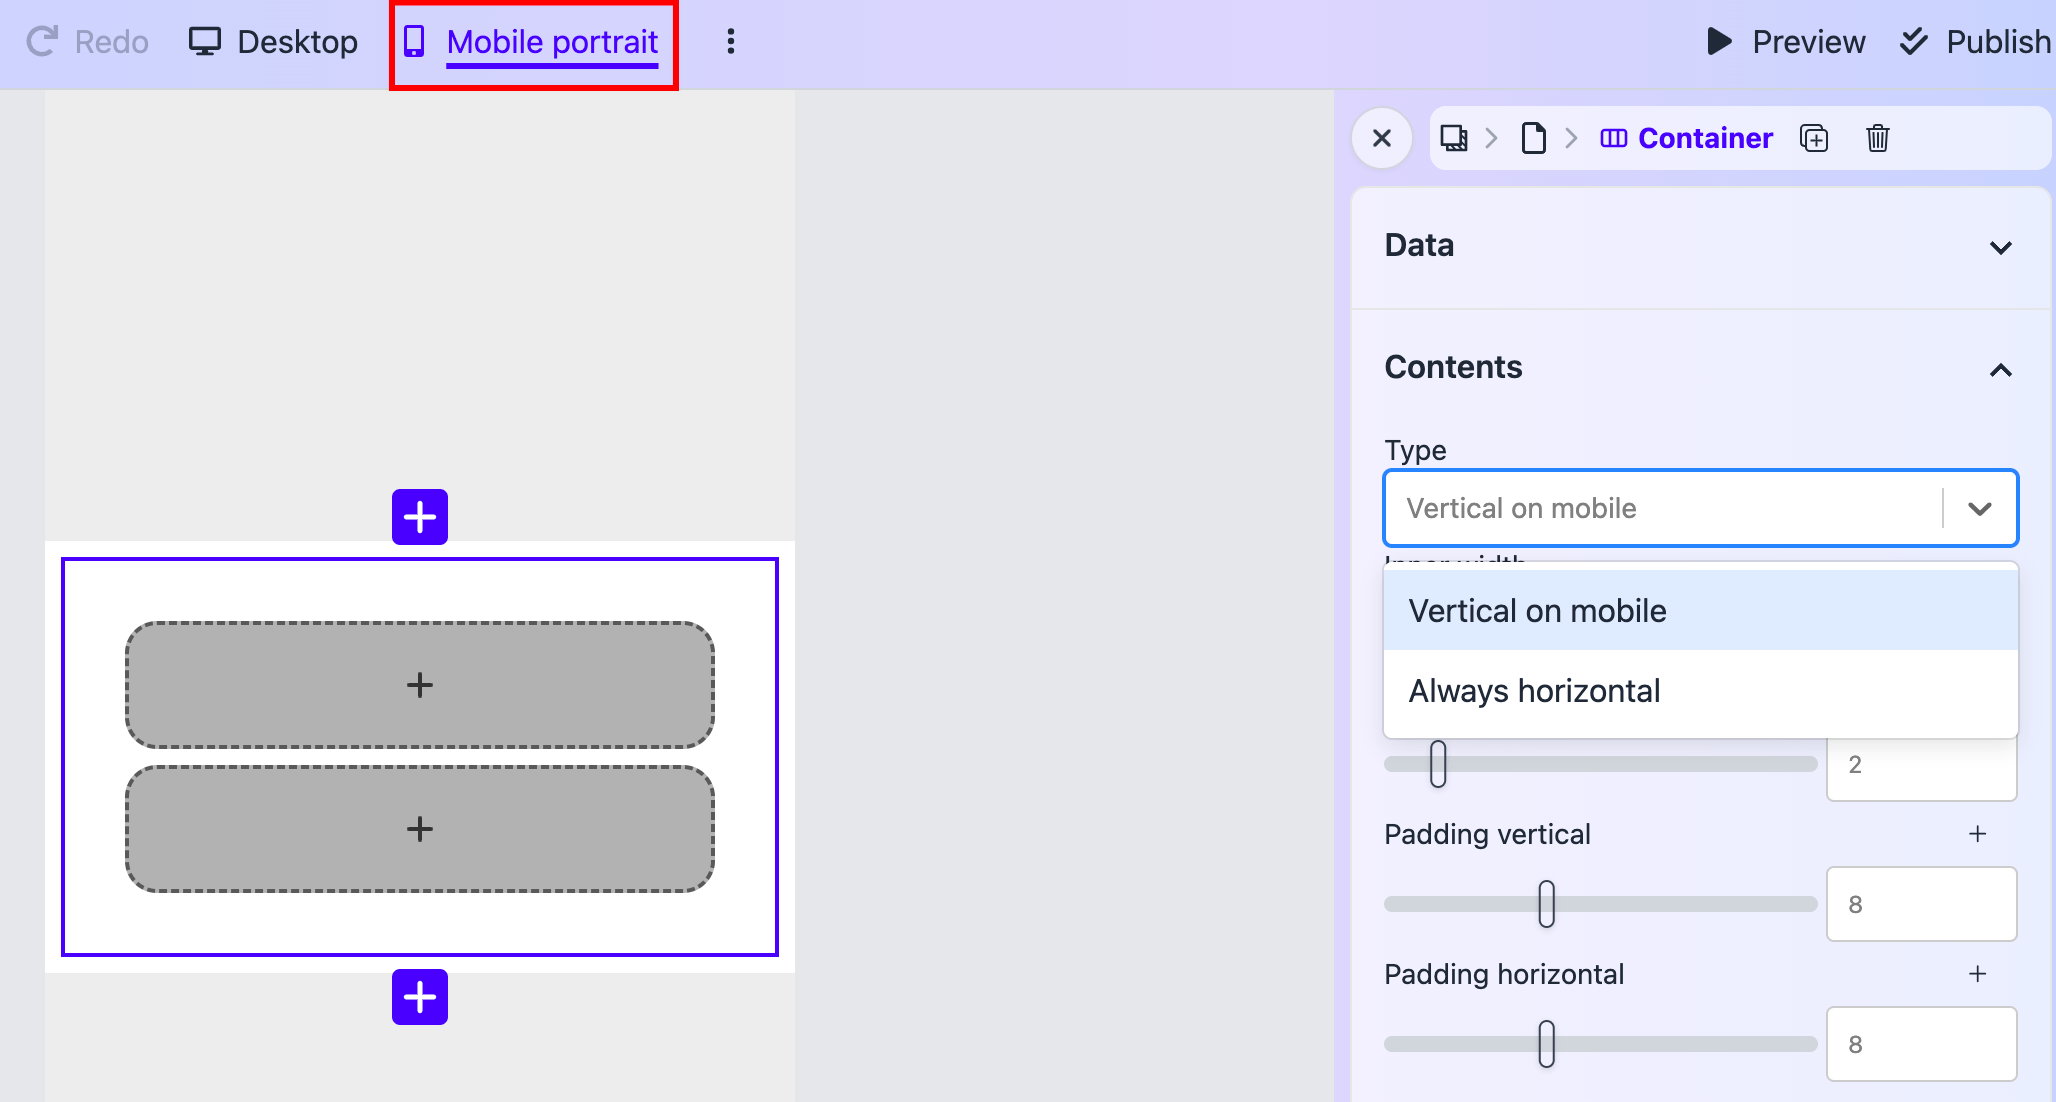
Note that even though the columns are arranged horizontally. Under mobile screens the columns will be arranged vertically to adapt to narrower screens.

For most cases this is fine. But if you want your columns to be arranged always horizontally, click Contents tab and checkout the Type field. Select Always horizontal. And your content will be arranged horizontally no matter what screen size.
Auto column width
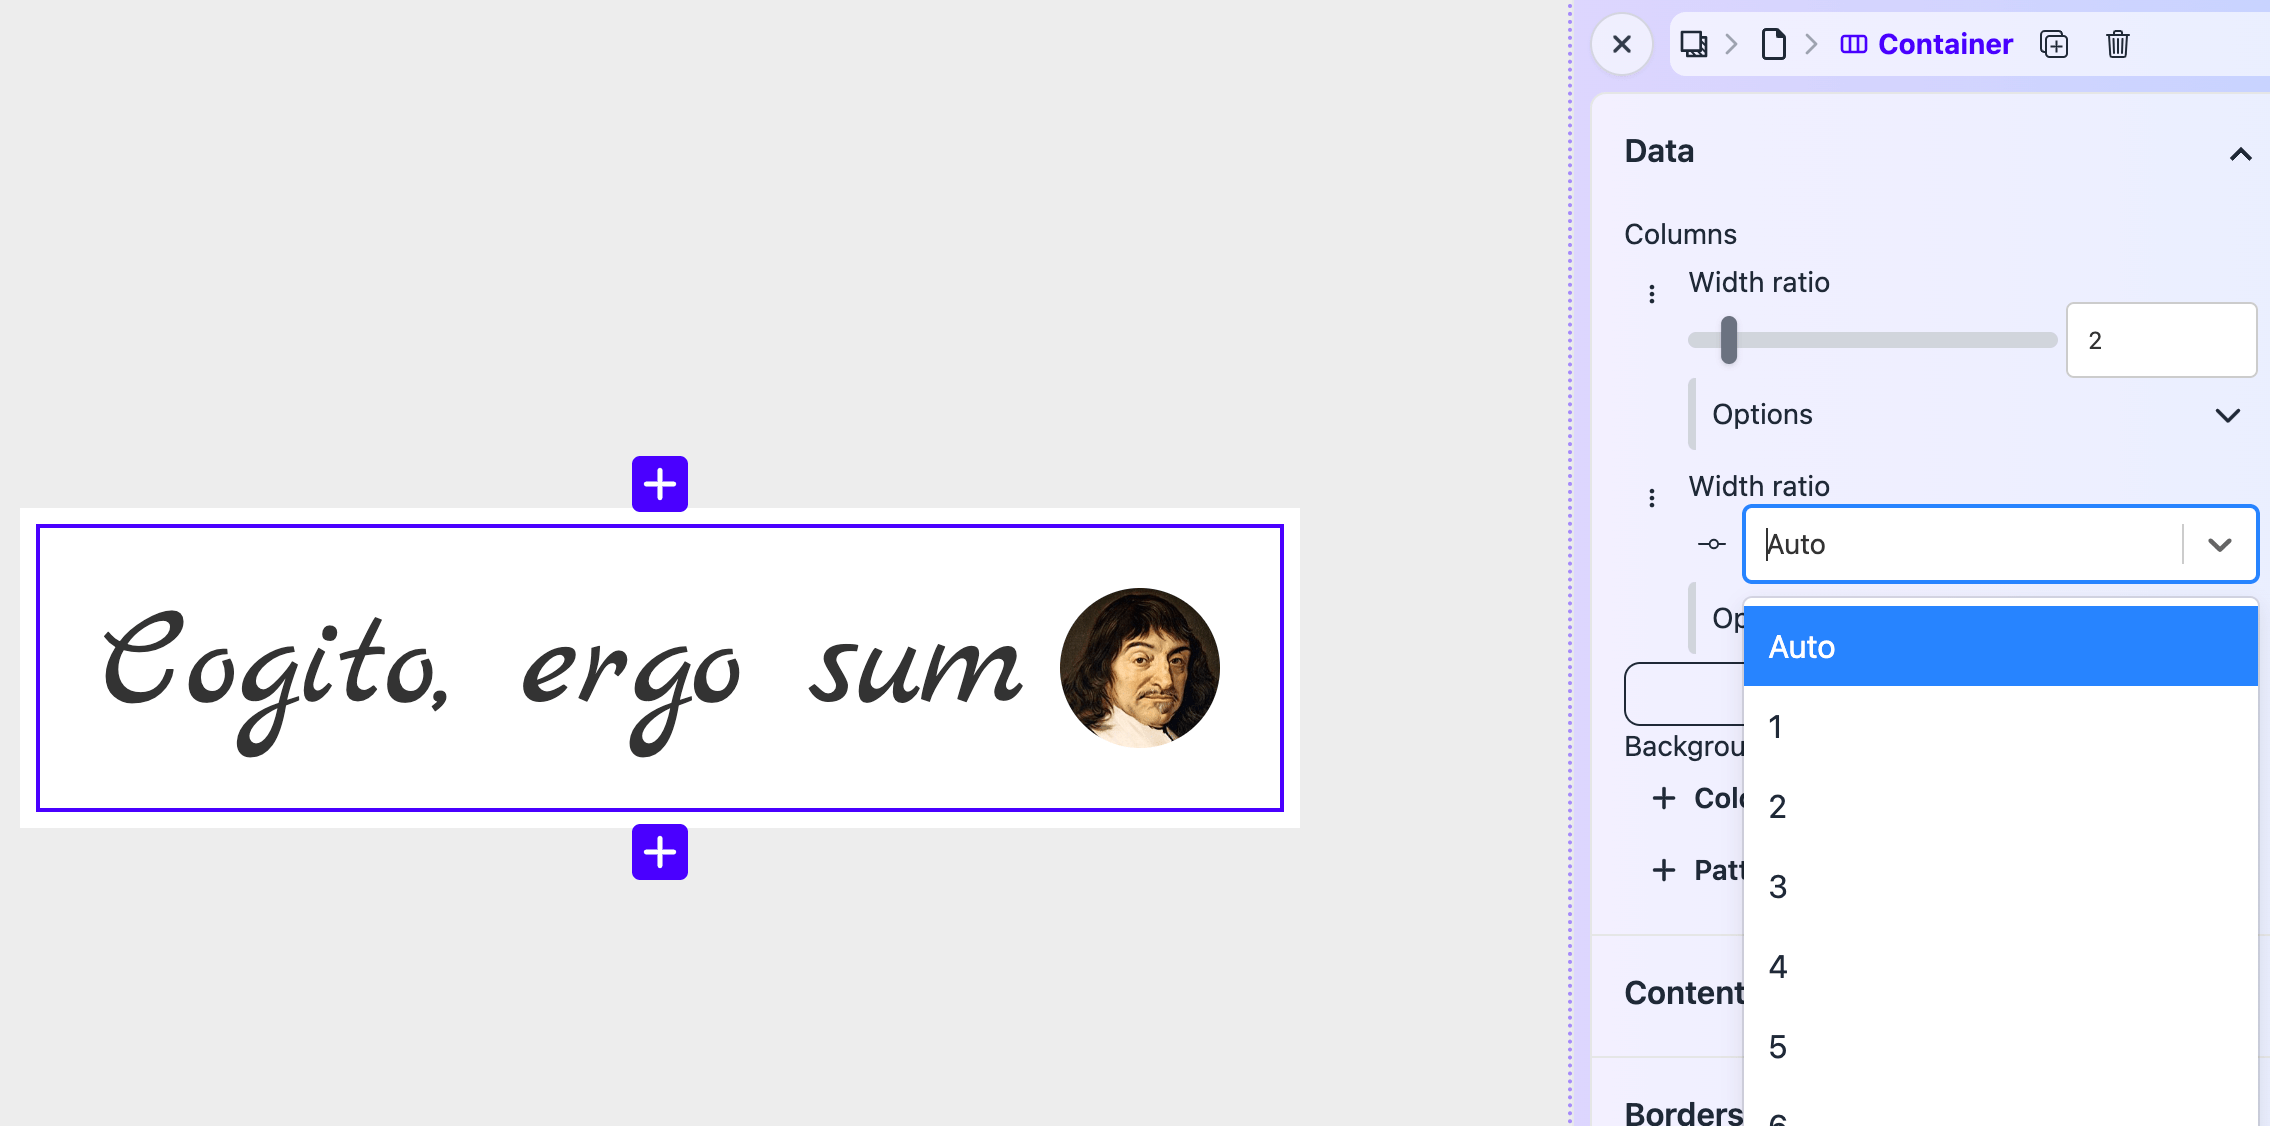
A short note about Width ratio is that it could be set to Width ratio, where the column width will shrink to fit the elements inside the column. It's useful, for example, when you want to set up an avatar and a motto.
Single column
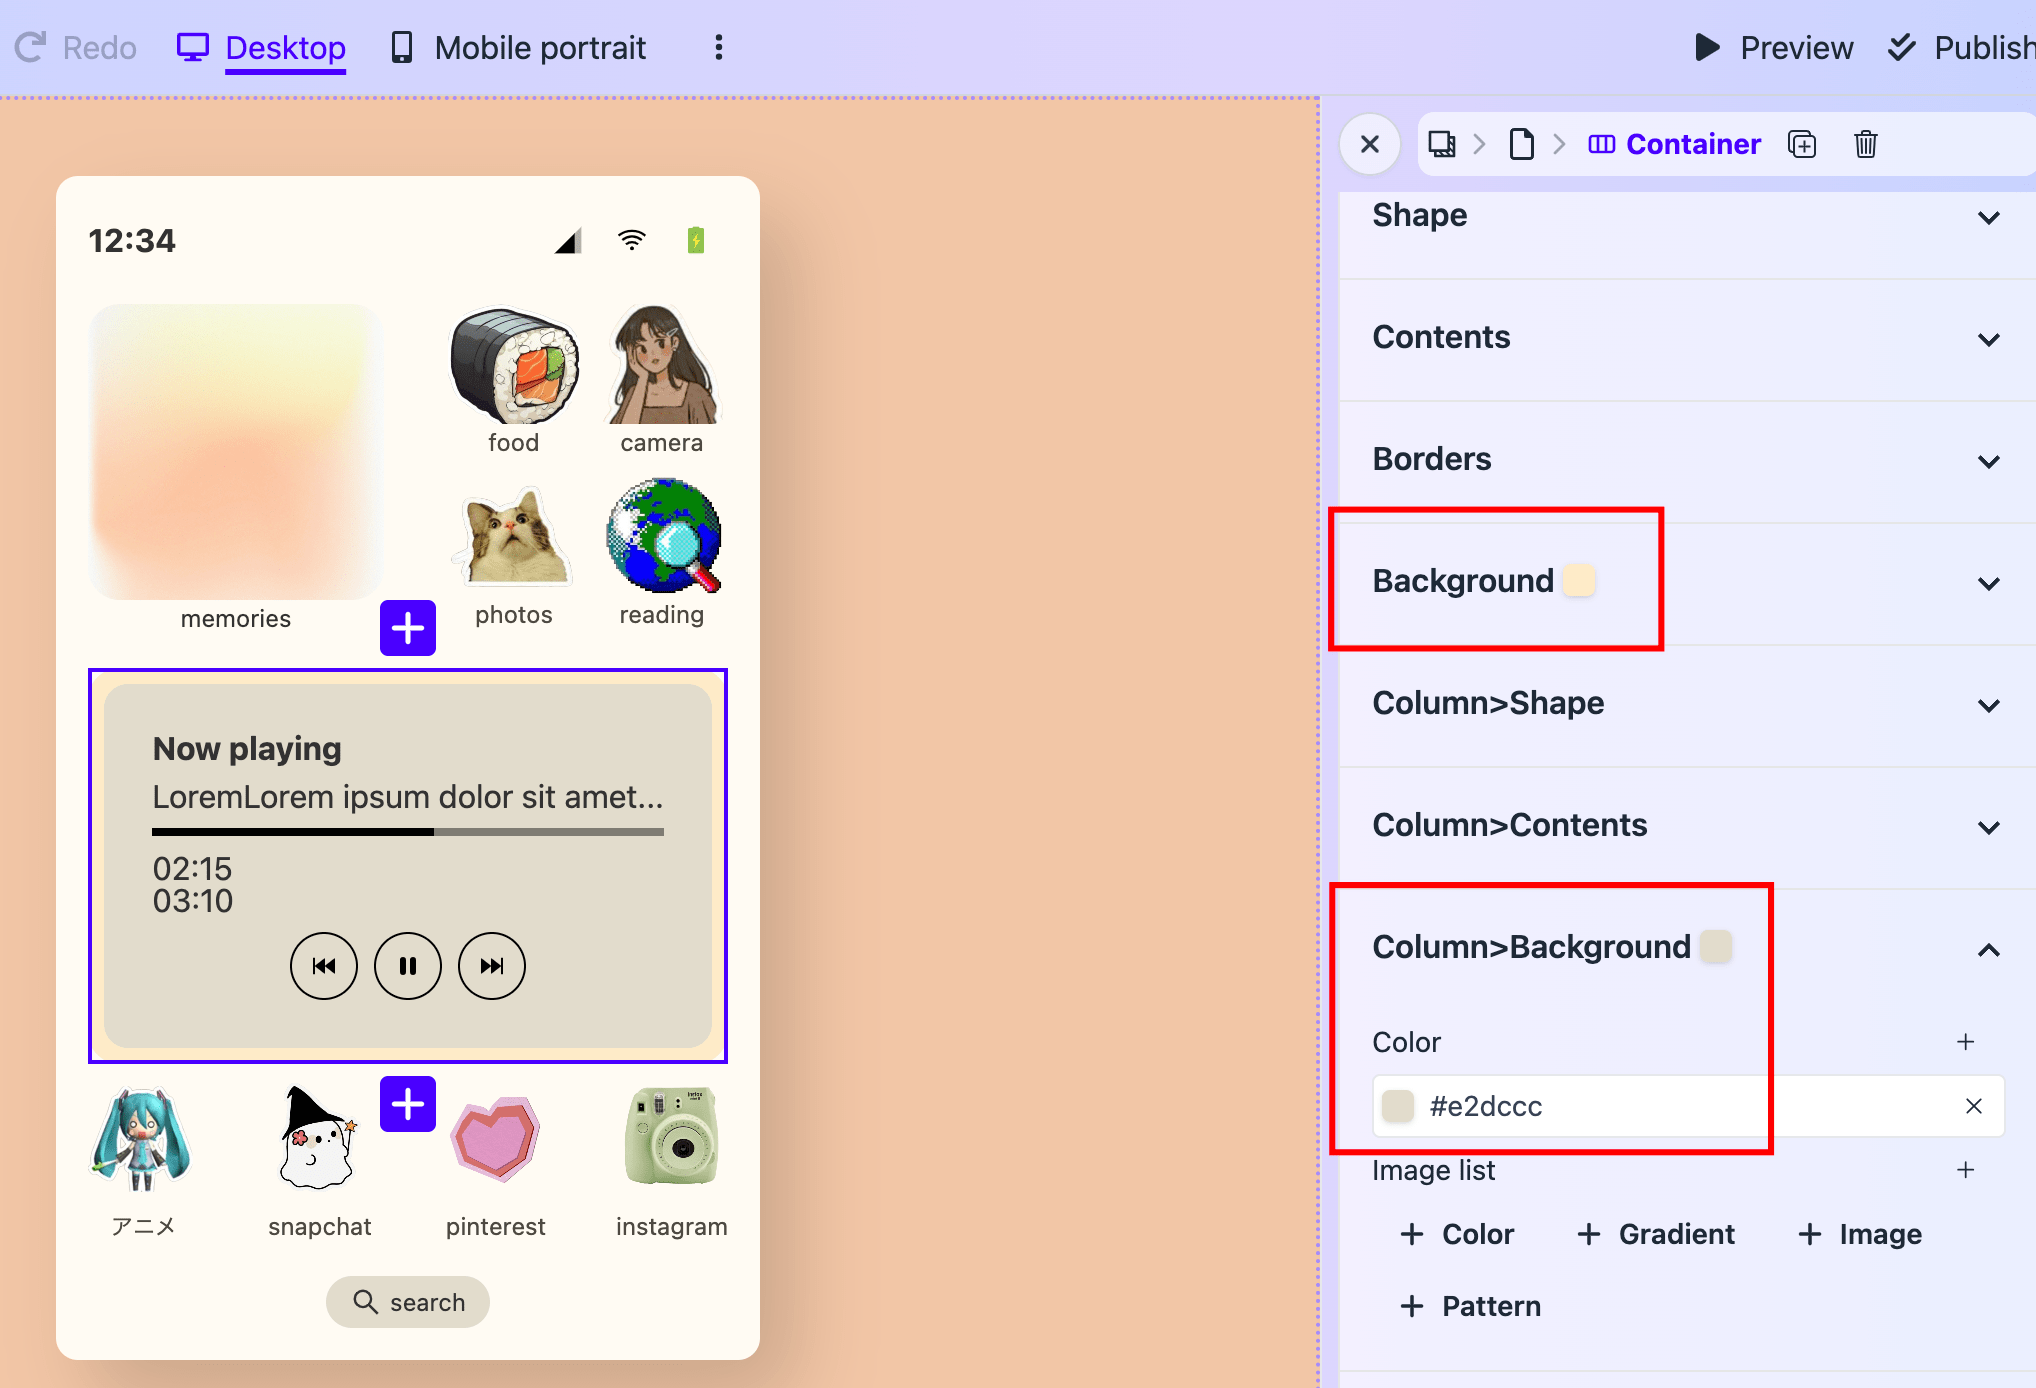
When there's only single column in a container. It's still useful. For example, you can add extra Background and extra Box shadow to it.
Full bleed background
Full bleed backgrounds can be achieved using a container. Just set Shape -> Width to Full screen width. The container will extend to the edged of the screen from left to right.
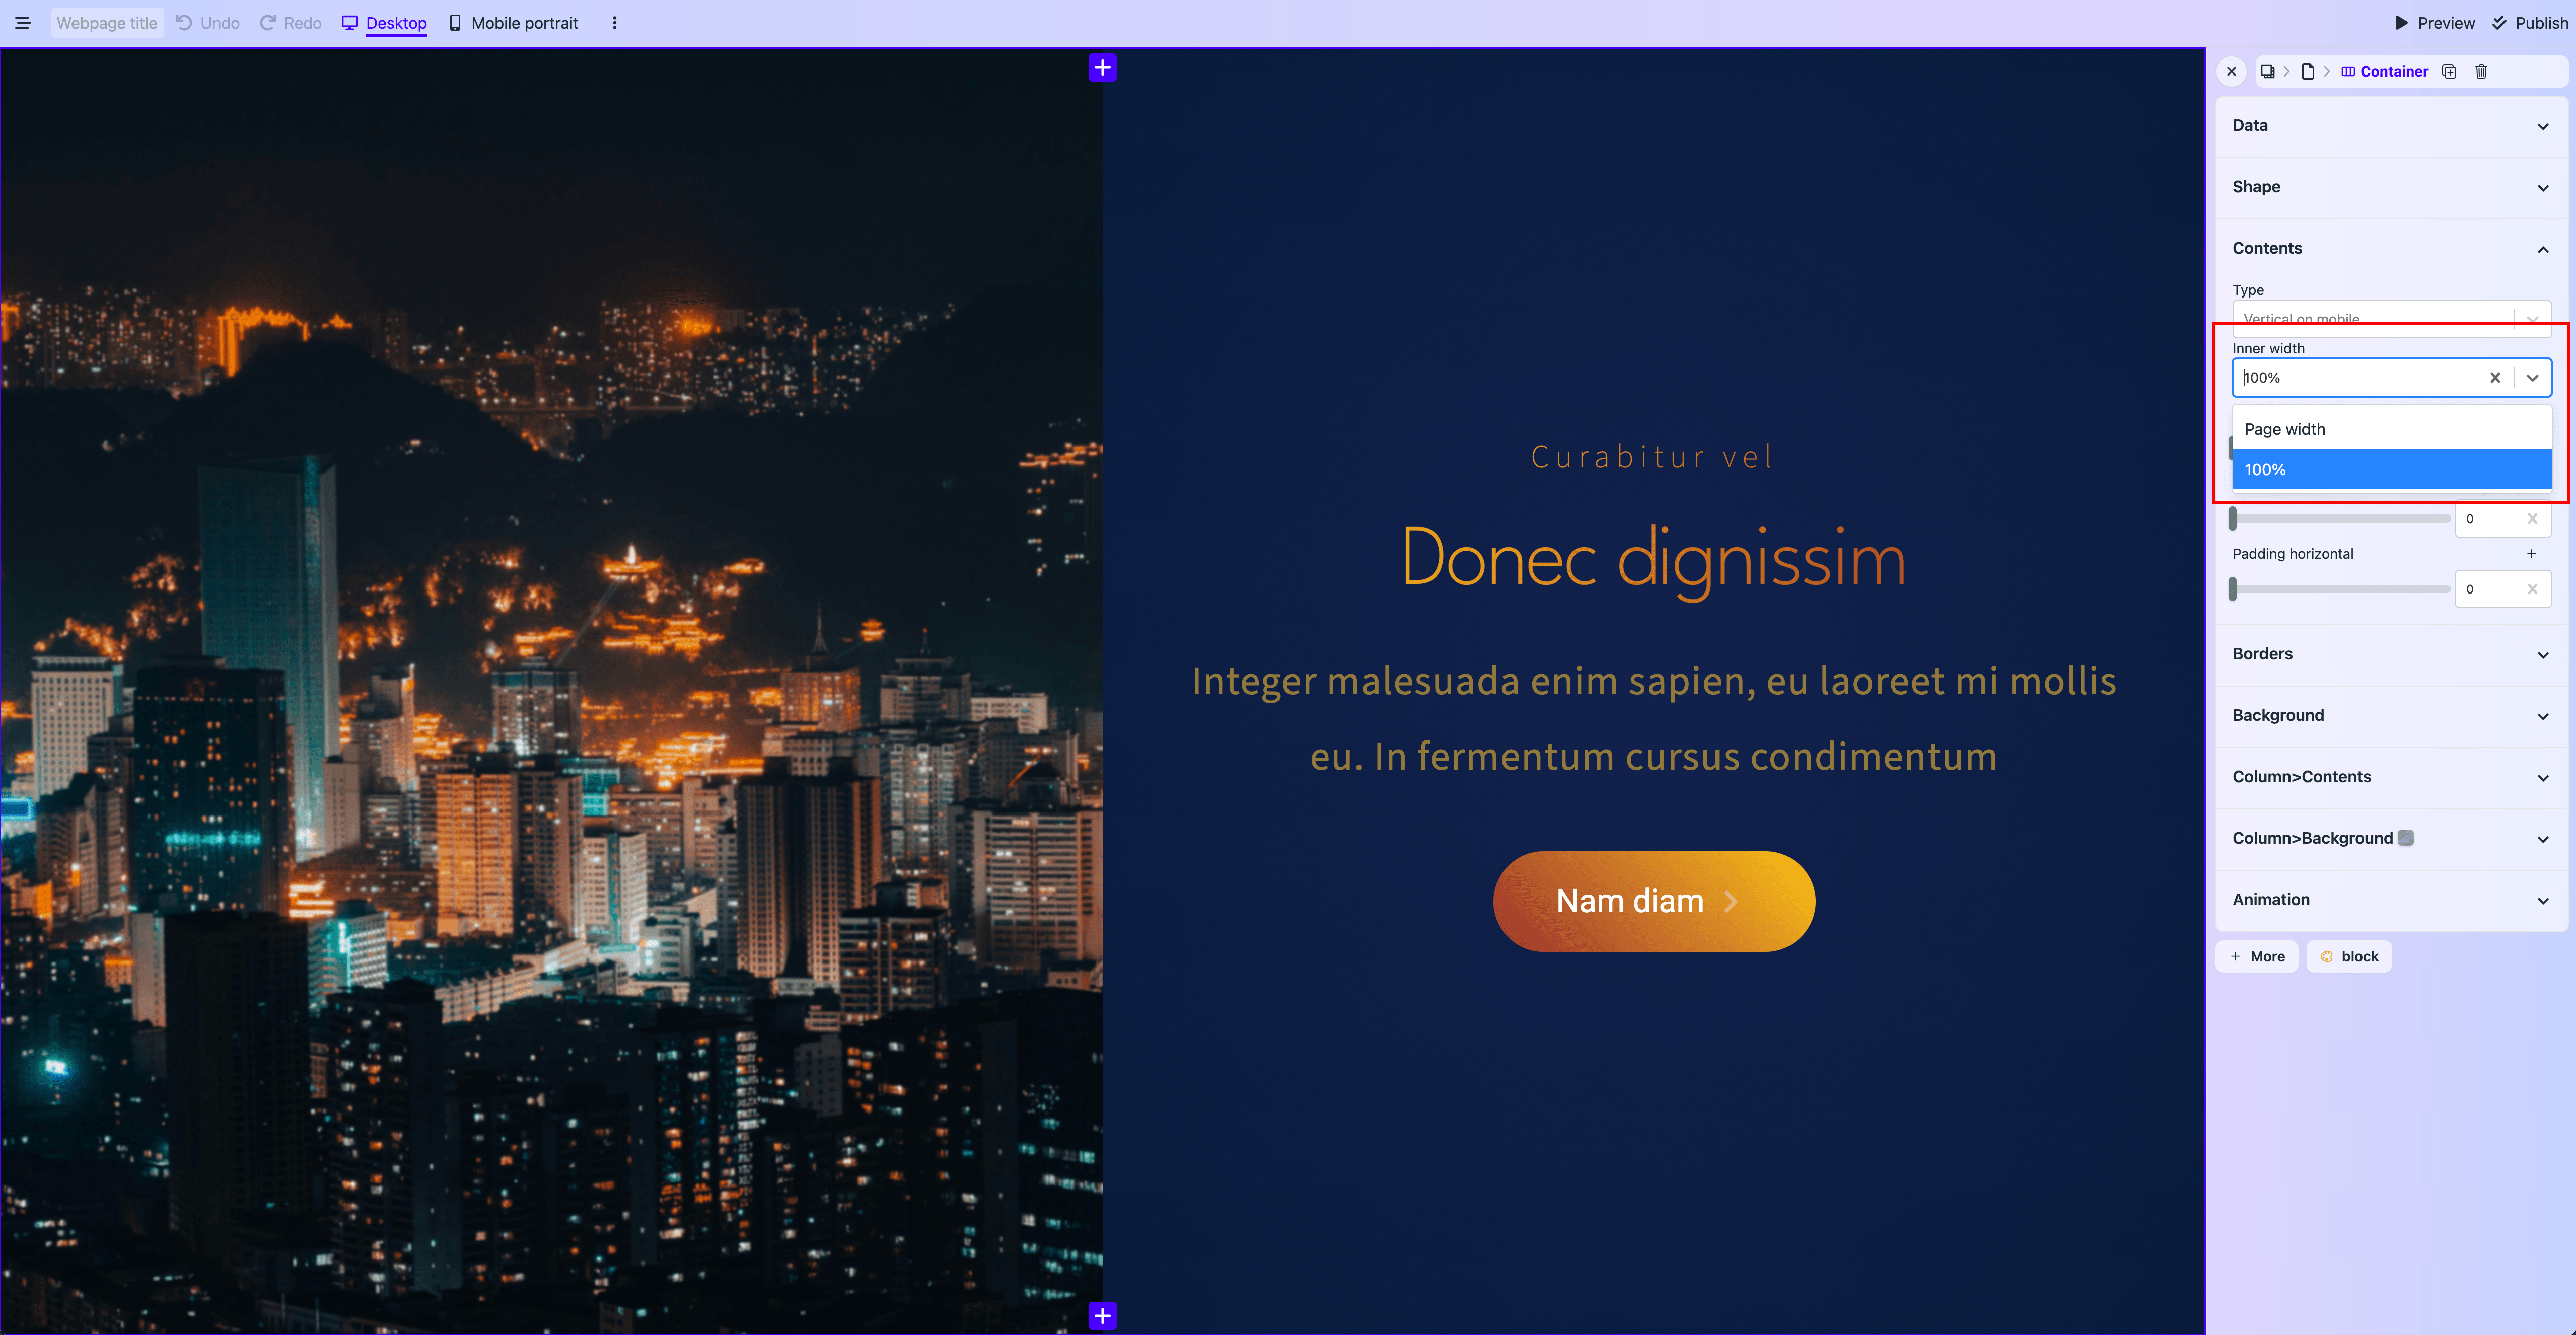
But contents inside the container will still be constrained inside the width of the page element. You can make the contents extend to the edge of the container by setting Contents -> Inner width to 100%.
Full bleed image
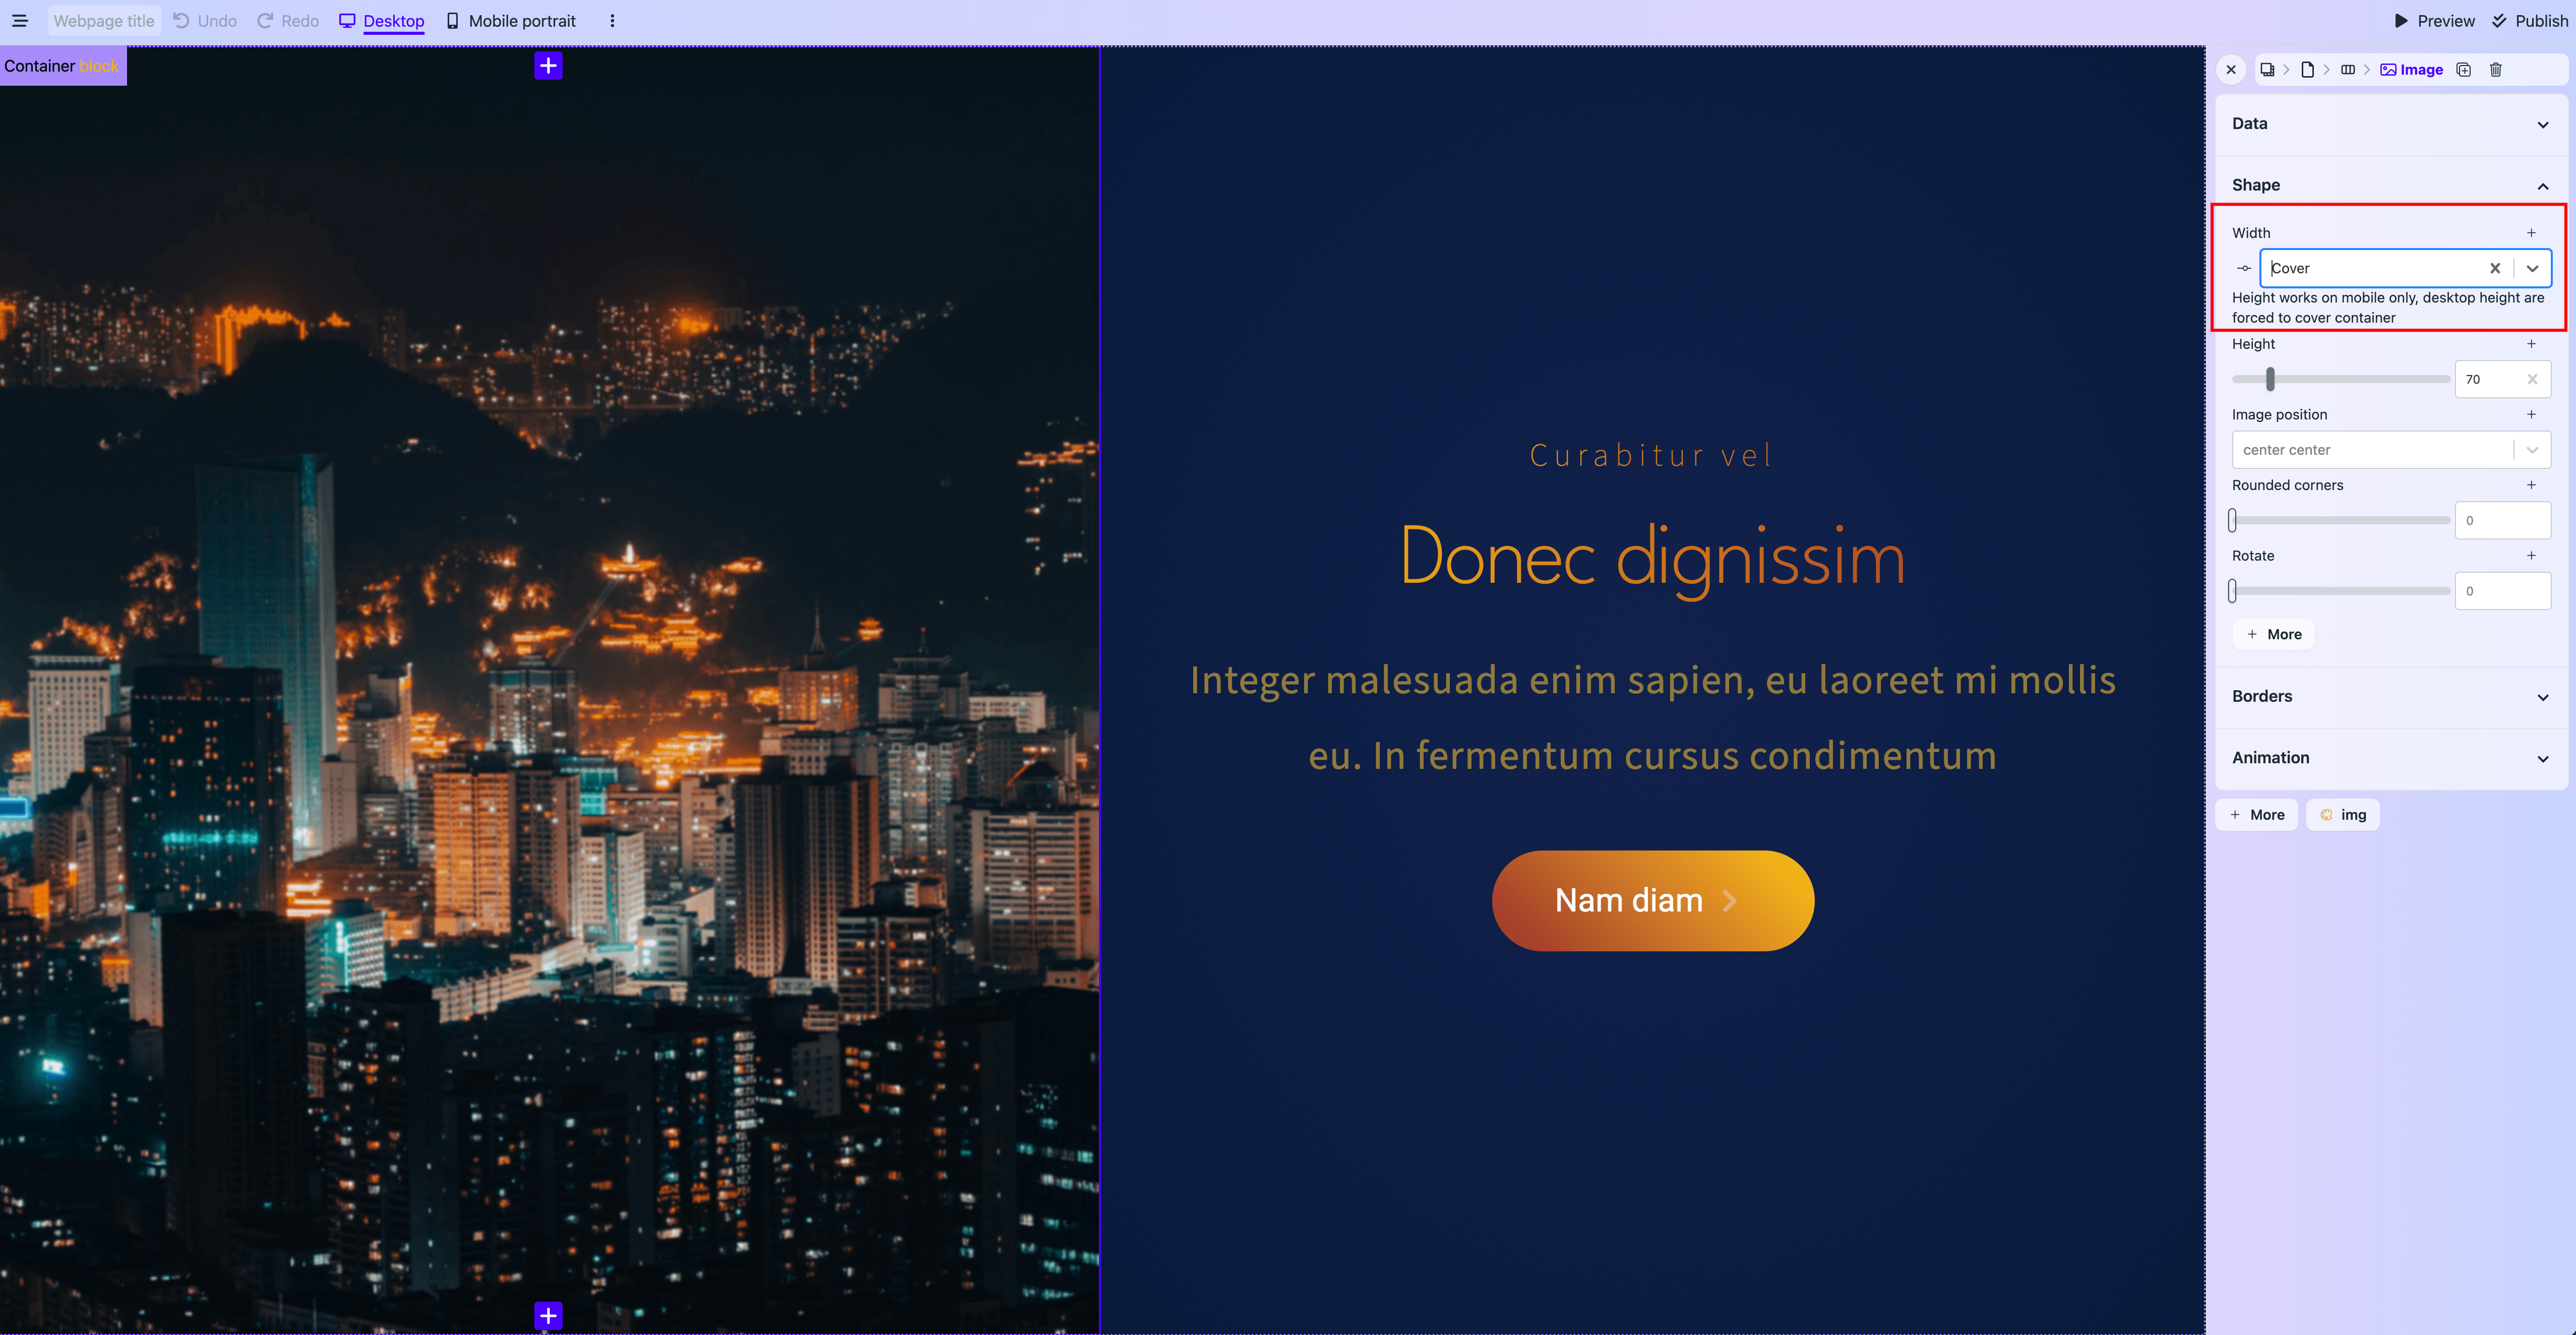
As the above screenshot shows, if you set Shape -> Width of the image element to Cover. The image element will extend to the edge of the container, ignoring the container and column padding and gap.